


Open Pixlr Express and upload your photo.
Sign up / Log in

Get 40% off Back To School Deal Now!
null
Transform your photos with Pixlr Express’s AI-powered tools. From removing unwanted objects to enhancing details, deliver standout visuals in moments, hassle-free.
Open Pixlr Express and upload your photo.
Select AI Tools from the left menu, then choose Remove Object.
Draw around the object, and the AI will erase it while blending the area seamlessly with the surrounding.
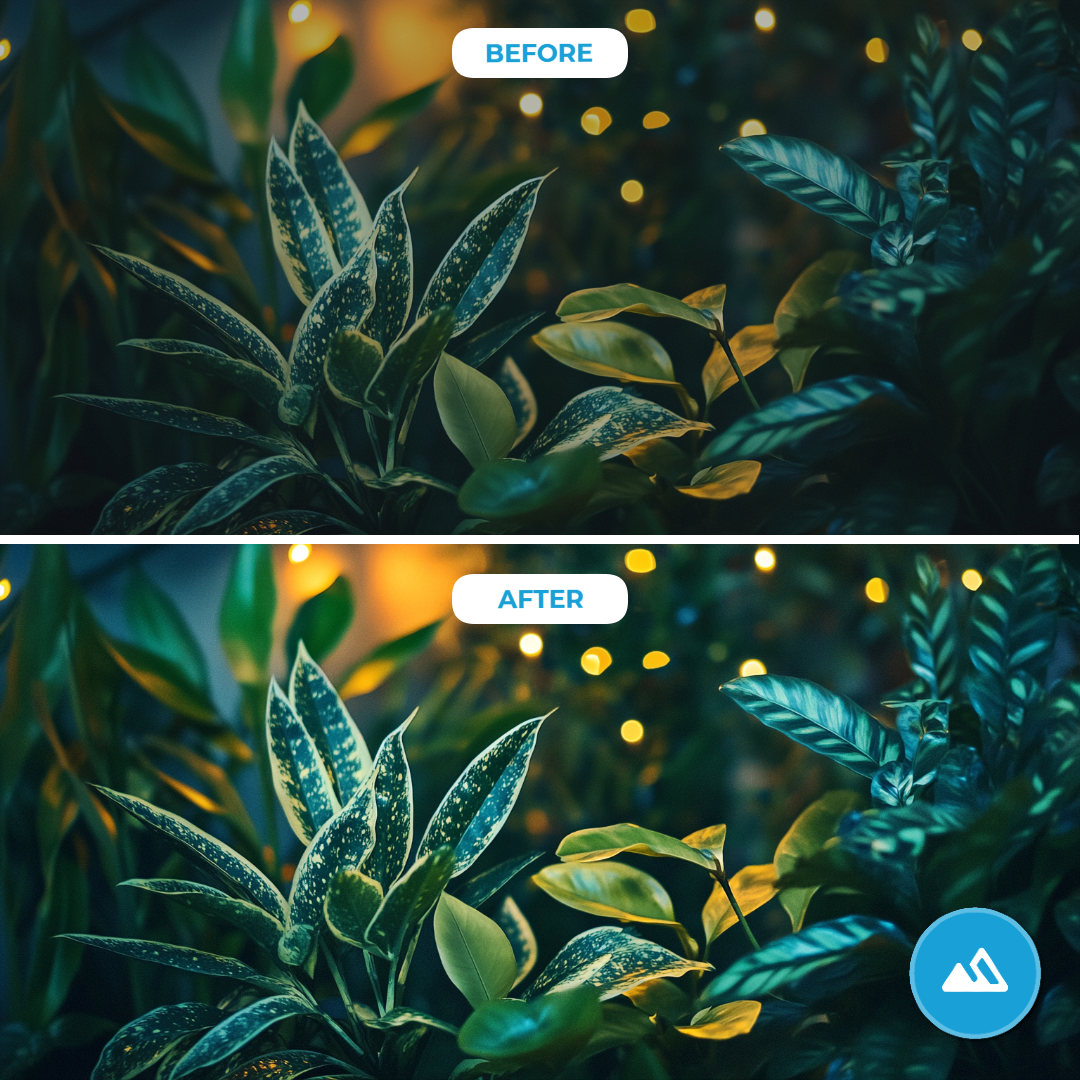
To enhance details, head to the Filter section and select the HDR Filter. Apply it with one click.
Adjust the Amount slider to control the intensity of the effect and the Contrast slider to fine-tune the balance between light and dark areas.
Once done, save your final output in PNG, JPG, PDF, or WebP format by clicking on the ‘Save’ button.


Pixlr Express’s AI Remove Object instantly removes distractions from your photos. You can clean up images in seconds by drawing around unwanted objects like photobombers, cluttered backgrounds, or imperfections. The AI blends the area seamlessly with its surroundings, delivering flawless results. This AI tool helps you save time and achieve professional-grade edits, perfect for social media, personal use, or client projects.
Pixlr Express’s HDR Filter brings every detail in your photos to life, making them vibrant and visually captivating. With one click, you brighten dark areas, preserve highlights, and add striking contrast for a natural and balanced look. The filter mimics natural lighting to create depth and keep your images realistic. Pixlr’s HDR filter makes your photos pop with professional quality and stand out on any platform with minimal effort.

Pixlr Express simplifies photo editing by letting you retouch images with single clicks. The Remove Object Tool and HDR Filter apply AI-powered enhancements to improve lighting, remove objects, and fine-tune details instantly. These Pixlr Express features’ combination allow you to enhance photos in seconds, perfect for sharing, printing, or marketing. You can retouch photos online quickly without dealing with complicated tools.
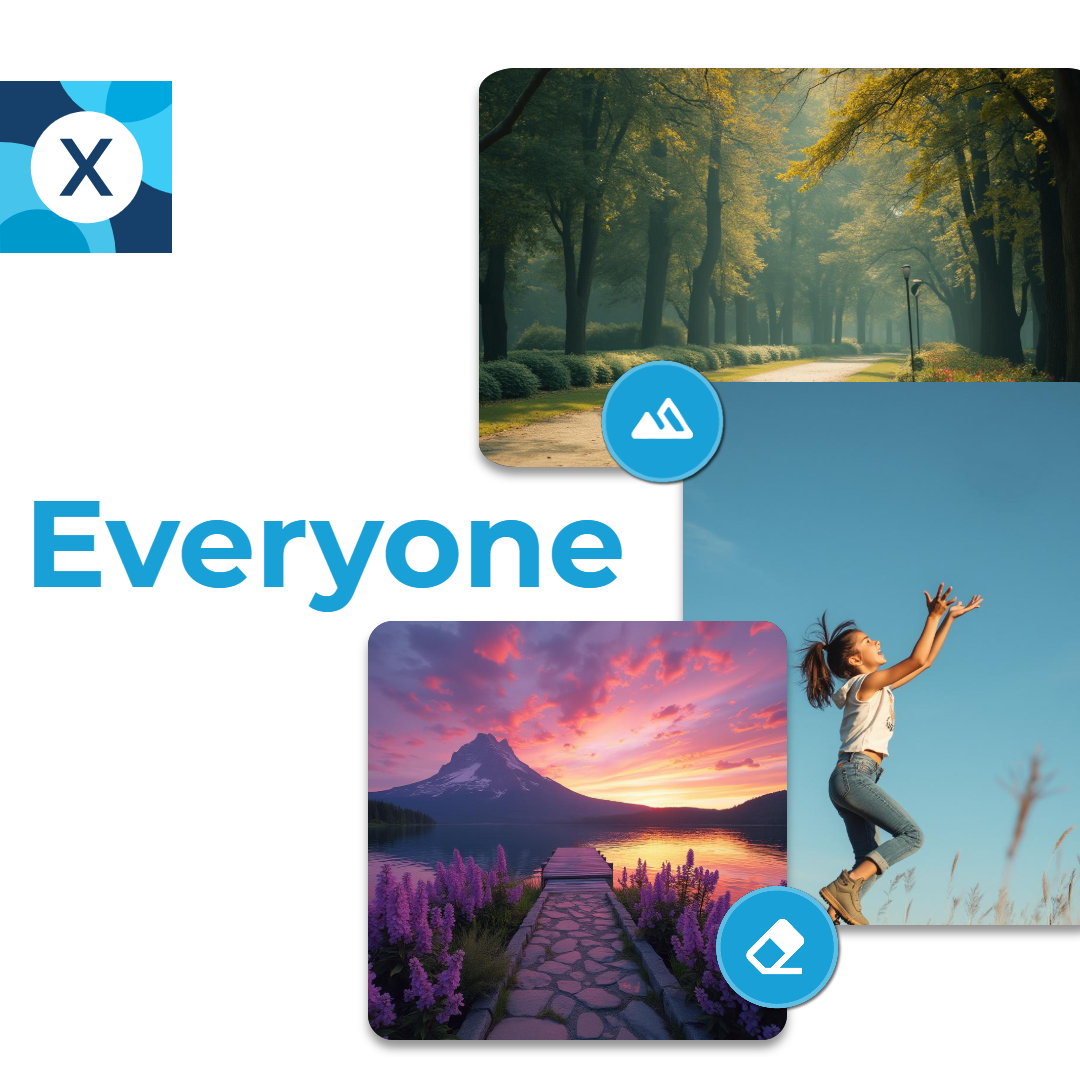
Pixlr Express eliminates the learning curve, making it perfect for everyone, from beginners to seasoned designers. You simply select the object you want to remove with the Remove Object tool or choose the HDR Filter to auto-enhance your photo, and the AI handles the rest. These intuitive tools let you erase elements, balance lighting, and enhance details effortlessly, whether you’re perfecting portraits, refining landscapes, or polishing product photos.
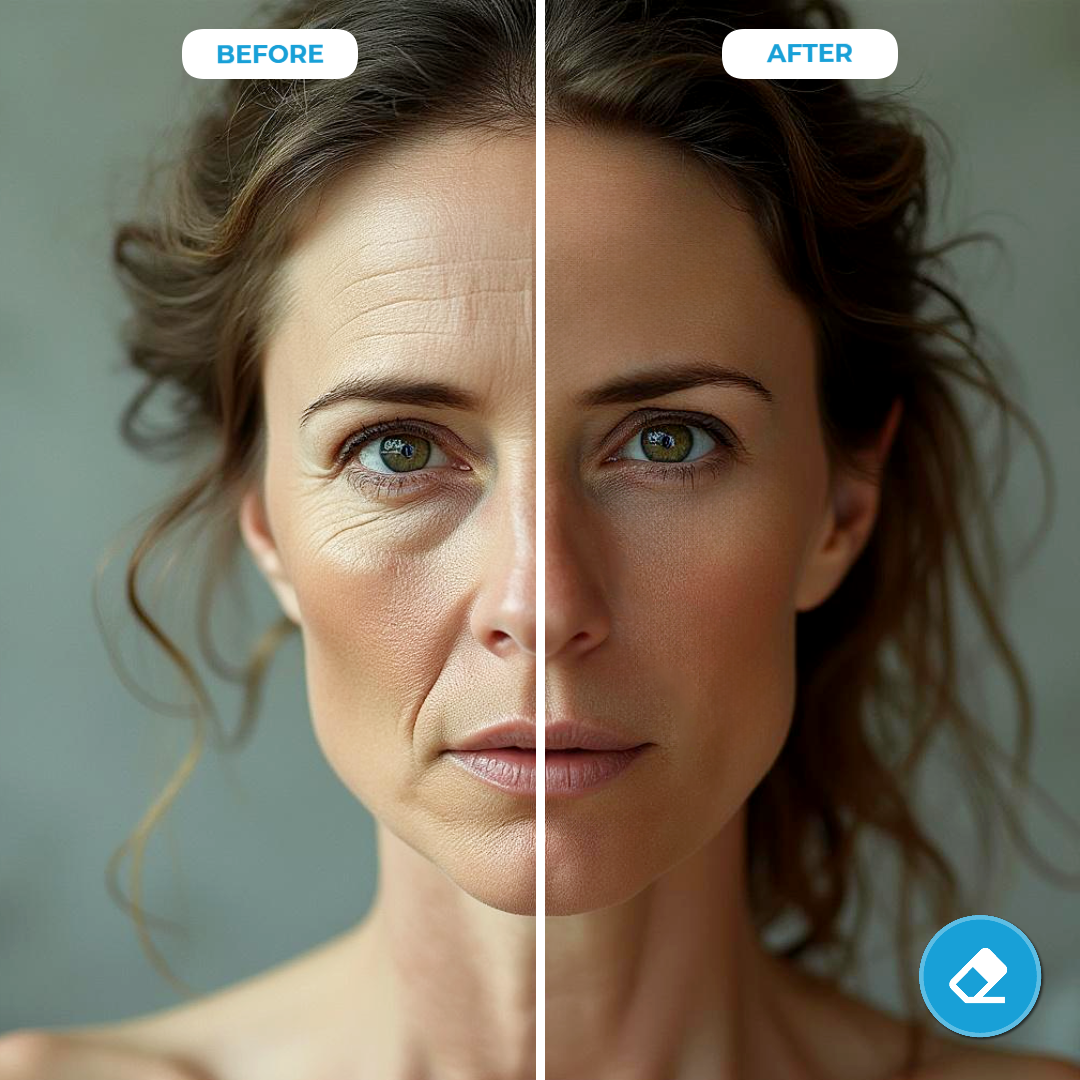
Pixlr Express simplifies portrait editing with advanced AI tools and filters. The Remove Object tool eliminates stray hairs, blemishes, or wrinkles, ensuring the portrait looks perfect. The HDR Filter enhances skin tones, adds depth to facial features, and balances shadows and highlights for a natural yet striking look. These tools work together seamlessly, allowing you to create polished portraits for professional headshots, family photos, or social media profiles.
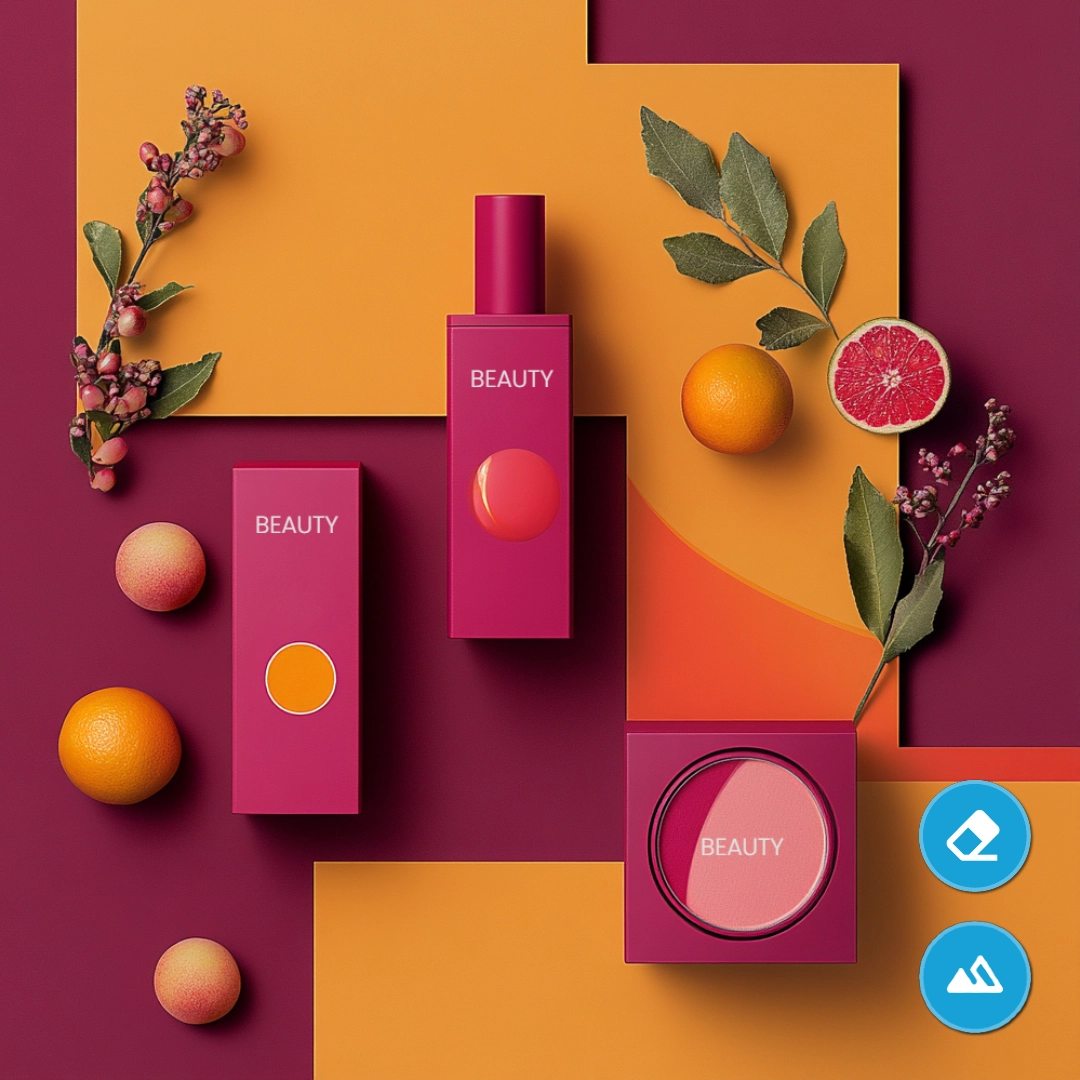
Pixlr Express helps you create polished product photos that elevate your e-commerce game. Use the Remove Object tool to erase dust, smudges, or background imperfections. Apply the HDR Filter to enhance textures, make colors more vibrant, and balance lighting, creating detailed product shots with clarity and appeal. Whether you’re photographing clothing, accessories, or electronics, these tools help you produce high-quality visuals.
Auto retouching uses AI-powered tools to quickly enhance and correct photos with minimal manual input, improving their overall appearance.
Pixlr Express uses tools like AI Remove Object and HDR Filter to automatically clean up distractions, adjust lighting, and enhance details with just a few clicks.
Yes, Pixlr Express is beginner-friendly. The AI handles all the work, making it easy for anyone to achieve professional-grade edits.
Pixlr Express’s AI tools deliver highly precise results by blending edits seamlessly with the photo’s original elements.
The tools are designed to provide great results instantly, but you can fine-tune settings like intensity or contrast for a more customized look.
With Pixlr Express, you can retouch photos in seconds. However, it depends on your device configuration and internet connection speed as well.
Yes, you can easily undo or revert changes during the editing process by simply clicking the ‘Undo’ button at the bottom of the editor.